DIY Electric Bike Frame: A Comprehensive Guide to Building Your Own Electric Bicycle
Electric bikes (e-bikes) have seen a tremendous rise in popularity due to their convenience, environmental benefits, and cost-effectiveness. Whether you’re commuting in the city or exploring off-road trails, e-bikes offer a fantastic way to travel. However, one of the most exciting aspects of e-bikes is the ability to customize your ride. With DIY electric bike frames, you can tailor the bike to your exact specifications and needs. In this guide, we will explore the key factors to consider when building your own e-bike, from choosing the right frame to assembling your components.
What is a DIY Electric Bike Frame?
A DIY electric bike frame is essentially a bicycle frame designed or modified to accommodate electric components such as a motor, battery, and controller. While many electric bike manufacturers offer pre-built bikes, DIY frames give enthusiasts the opportunity to build a fully customized e-bike. This allows for greater flexibility in terms of motor power, battery capacity, frame style, and riding purpose.
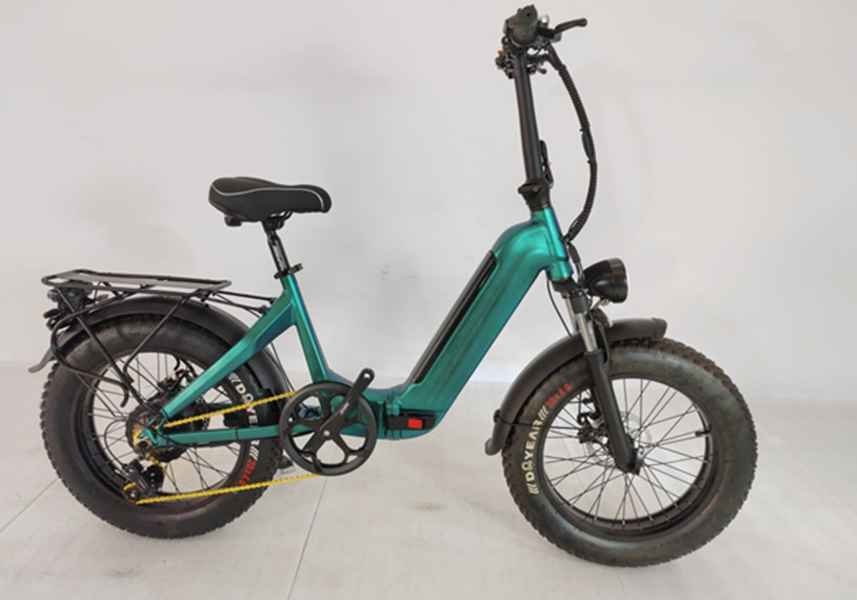
LIIDEWA offers a range of electric bikes in different frame sizes and styles, but building your own e-bike frame allows for even more personalization. Whether you prefer a lightweight 14-inch folding bike for city commutes or a robust 29-inch model for long-distance riding, a DIY frame lets you create the perfect bike for your needs.
Choosing the Right Frame for Your DIY Electric Bike
The first and most important decision in building a DIY electric bike is choosing the right frame. The frame will determine the kind of motor, battery, and other components you can install. When selecting a frame, you should consider several factors such as:
Frame Material: Common materials include aluminum, steel, and carbon fiber. Aluminum is lightweight and corrosion-resistant, while steel offers durability and strength. Carbon fiber is the lightest but also the most expensive.
Frame Size: Frame size should suit your height and riding style. LIIDEWA offers frames from 14 inches to 29 inches, giving you plenty of options for compact city bikes or larger models designed for tougher terrains.
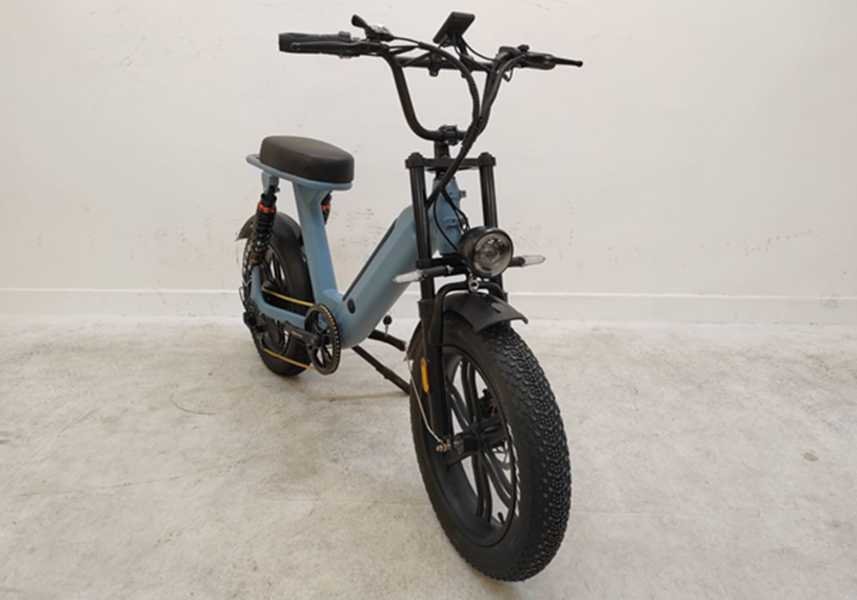
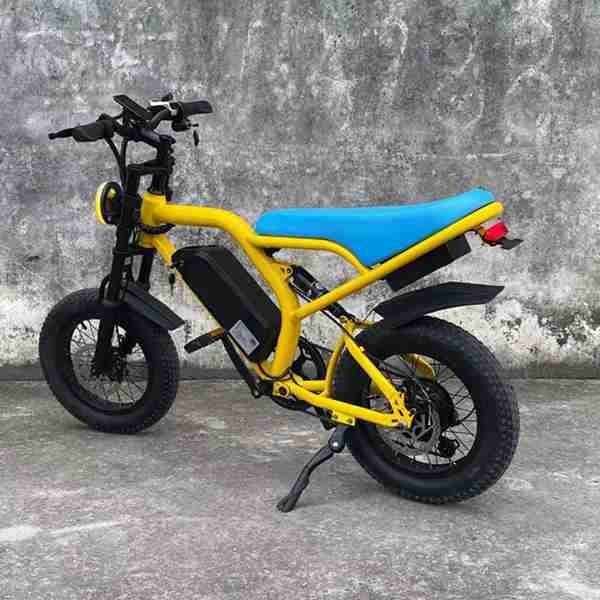
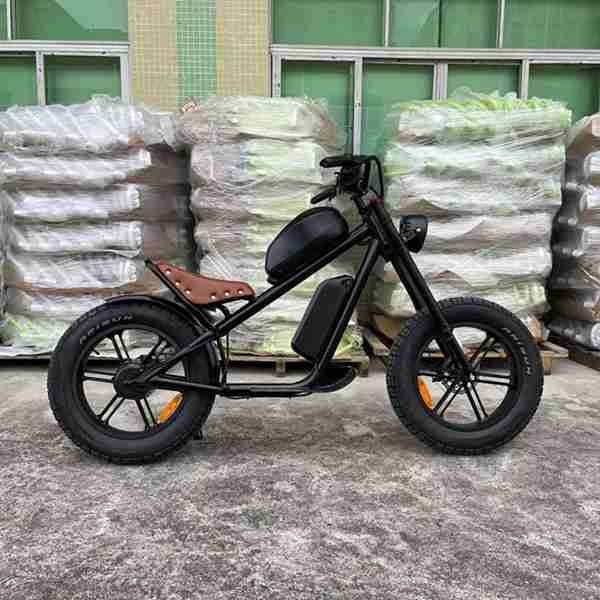
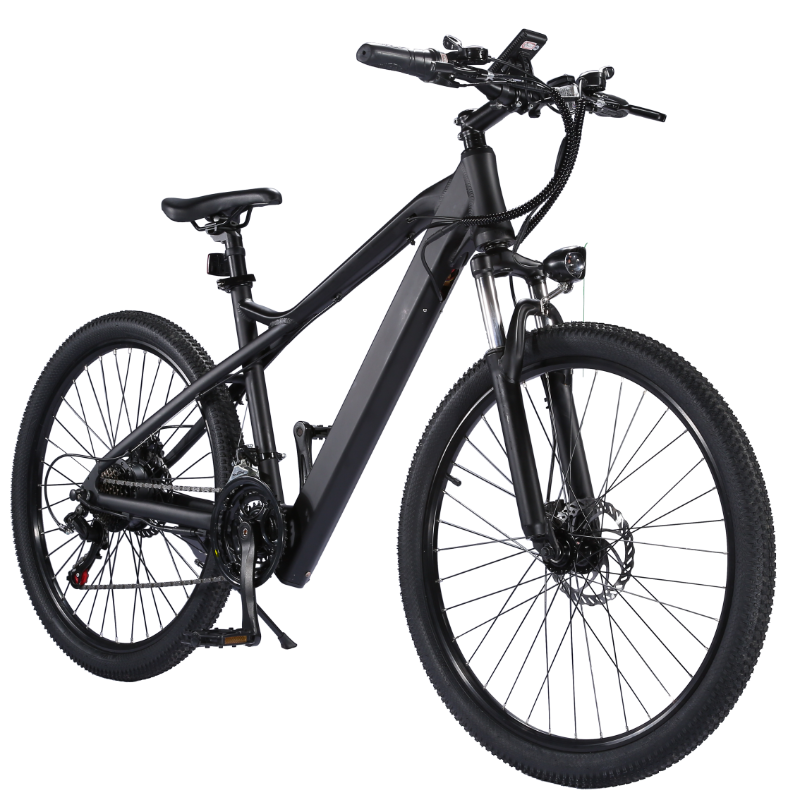
Frame Geometry: The geometry of the frame affects the comfort and performance of the bike. City bikes typically have a relaxed geometry for upright riding, while mountain and fat-tire bikes feature more aggressive geometries for better control and handling.
Frame Compatibility: Make sure the frame is compatible with the motor and battery you plan to install. For instance, larger 26-inch or 29-inch frames may be more suited for powerful motors and bigger batteries, while smaller frames are ideal for lightweight, portable setups.
Components You Need for a DIY Electric Bike
Once you¡¯ve selected the frame, the next step is to gather the essential components to transform your regular bike into an e-bike.
Motor
The motor is the heart of your e-bike, providing the power to assist your pedaling. There are three main types of motors to consider:
Hub Motors: These are the most common and easiest to install, as they fit directly into the wheel. Hub motors can be either front-wheel or rear-wheel designs. Rear hub motors provide better traction, while front hub motors are simpler to install.
Mid-Drive Motors: These are mounted in the center of the bike, providing power directly to the pedals. Mid-drive motors offer better balance and efficiency, especially for climbing hills, but they can be more complex to install.
Geared Motors: For smaller, folding, or lightweight frames like LIIDEWA¡¯s 14-inch models, geared motors are an excellent choice. They offer good torque and are more compact than larger motors.
Battery
The battery powers the motor, and its size and capacity determine how far you can ride on a single charge. You¡¯ll need to choose a battery that fits your frame and meets your power needs. LIIDEWA’s portable models are designed to accommodate compact battery solutions, making them ideal for city riders who value portability and range.
Consider these factors when choosing a battery:
- Voltage and Capacity: Higher voltage means more power, but it also requires a more robust frame to accommodate the battery. A 36V or 48V battery is common for DIY builds.
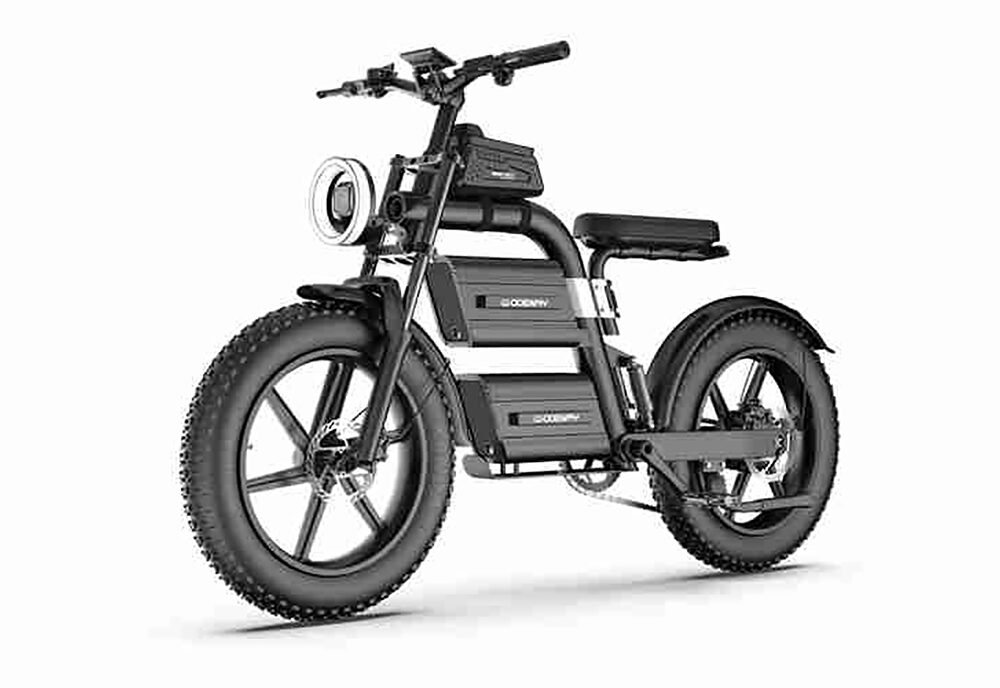
- Mounting Options: Depending on your frame, the battery can be mounted on the downtube, in the rear rack, or integrated into the frame itself.
- Range: If you’re building an e-bike for long-distance riding, like LIIDEWA¡¯s 29-inch city models, opt for a higher capacity battery to ensure you get maximum range.
Controller
The controller regulates the power from the battery to the motor. It is an essential component of your DIY e-bike, and it needs to match the voltage of your motor and battery. Most controllers are compact and can be mounted discreetly on your frame.
Other Components
In addition to the motor, battery, and controller, you will also need:
- Throttle: Many e-bikes use a twist throttle or thumb throttle to control the motor. This allows you to engage the motor without pedaling.
- Display: A display panel shows essential data like speed, battery life, and distance. It can also allow you to switch between different power modes.
- Brakes: Upgrading to hydraulic disc brakes is recommended for e-bikes, especially those designed for higher speeds or heavier loads.
- Gears and Drivetrain: If your frame is compatible, you may want to upgrade to a more durable drivetrain that can handle the extra power of the motor.
Building Your DIY Electric Bike: Step-by-Step
Once you have all your components, it’s time to assemble your DIY electric bike.
Frame Preparation: If you’re using an existing bike frame, remove all unnecessary components. Check for space for the battery and motor mounting.
Motor Installation: Depending on your motor type, mount it either on the wheel hub or in the center of the frame.
Battery Installation: Secure the battery to the frame in a place that offers easy access but does not interfere with pedaling.
Controller Installation: Mount the controller close to the motor and battery, then connect the wiring. Make sure the connections are tight and secure.
Install Throttle and Display: Attach the throttle and display to the handlebars for easy access while riding.
Final Adjustments: Test the motor, battery, and throttle before taking your bike for a ride. Check the brakes and ensure that all components are functioning smoothly.
Conclusion
Building your own DIY electric bike frame can be a rewarding and cost-effective way to create a custom e-bike that fits your needs. LIIDEWA’s range of frame sizes and styles makes it easy to find a foundation for your next project, whether you’re looking for a portable folding bike or a powerful city commuter. With the right frame and components, you can enjoy the freedom and flexibility of a custom-built e-bike that is perfect for your lifestyle.
You maybe Like:
- Uncategorized
For adults Electric Bike
- Uncategorized
Best Buy Electric Bike
- Uncategorized
Adult Electric Bike
- Uncategorized
Adults Electric Bike

- Uncategorized
e-bike cargo electric cargo bike liideway manufacturer
- Uncategorized
electric bike ghana liideway manufacturer
- Uncategorized
2000w electric cargo bike liideway manufacturer
- 26inch Ebike
E-bike wholesale liideway BK7
- Uncategorized
electric bike heavy duty liideway manufacturer
- Uncategorized
electric bike 20000w liideway manufacturer

LIIDEWAY most popular Electric scooter are linked below:
T1 Single Motor 10inch off road tire
T1Pro Double motor 48v 23AH battery
T14 Single Motor 12inch city road tire
T6(Double motor)
T7 Double motor 11inch off road tire
T8 Double motor 60v 20AH battery
T9(Double motor)
T10 Double motor 11inch off road tire
LW3-Wheel(3wheel)
T5 Double motor 72v 50AH battery
T4 Double motor 60v 20AH battery
T11 Double motor Acrylic LED board
T13 Electric Snow Scooter 1500w motor