Electric Bike Assembly: A Comprehensive Guide for LIIDEWA¡¯s Versatile Models
Electric bikes have become a revolutionary form of transportation, combining the power of electric motors with the convenience of traditional bicycles. LIIDEWA, known for its innovation and quality, offers a wide range of electric bikes designed to cater to diverse customer needs. Whether it¡¯s commuting through busy city streets, riding on rugged terrains, or enjoying leisurely rides on the beach, LIIDEWA¡¯s bikes provide a solution for every rider.
In this article, we will walk you through the general process of assembling LIIDEWA¡¯s electric bikes, ensuring that you are fully equipped to set up these high-performance vehicles quickly and effectively.
1. Understanding LIIDEWA¡¯s Electric Bike Models
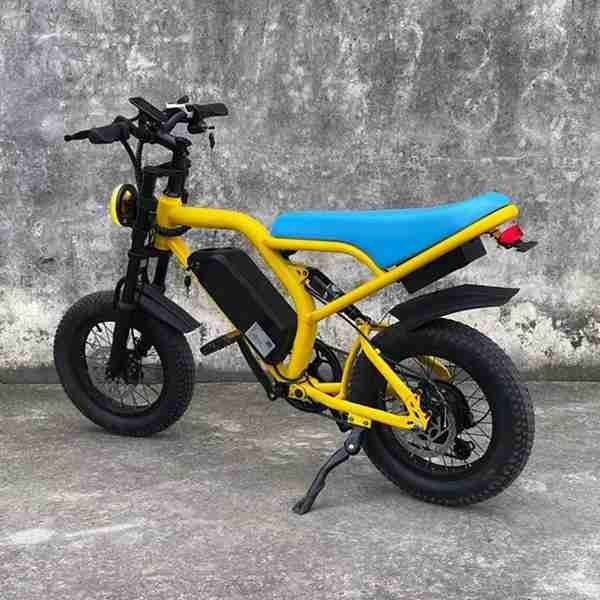
Before diving into the assembly process, it’s essential to familiarize yourself with LIIDEWA’s different electric bike models. LIIDEWA offers an impressive variety of bikes, including:
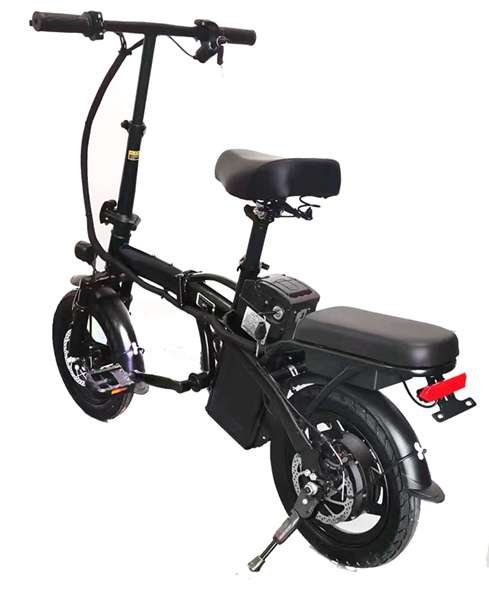
- 14-Inch Folding Models: Ideal for city commuters, these bikes are compact, portable, and perfect for short-distance travel.
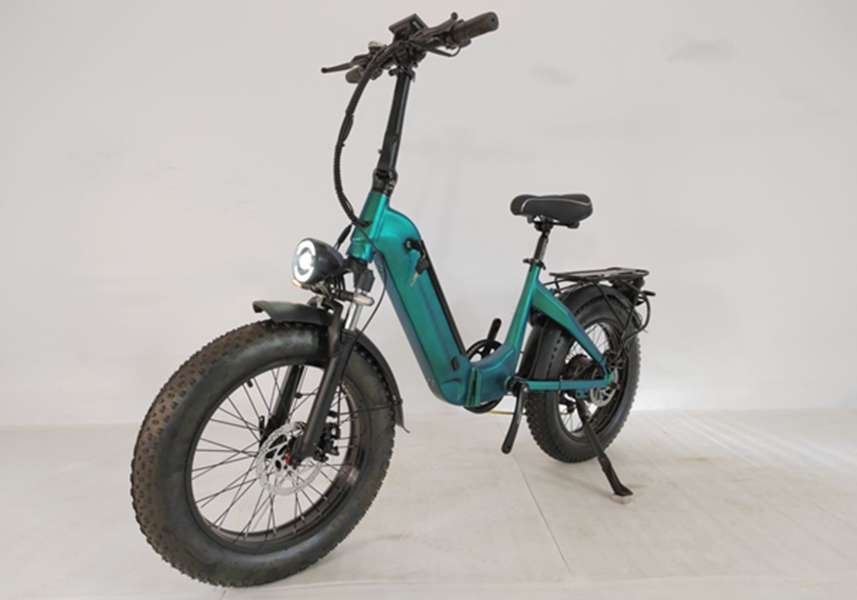
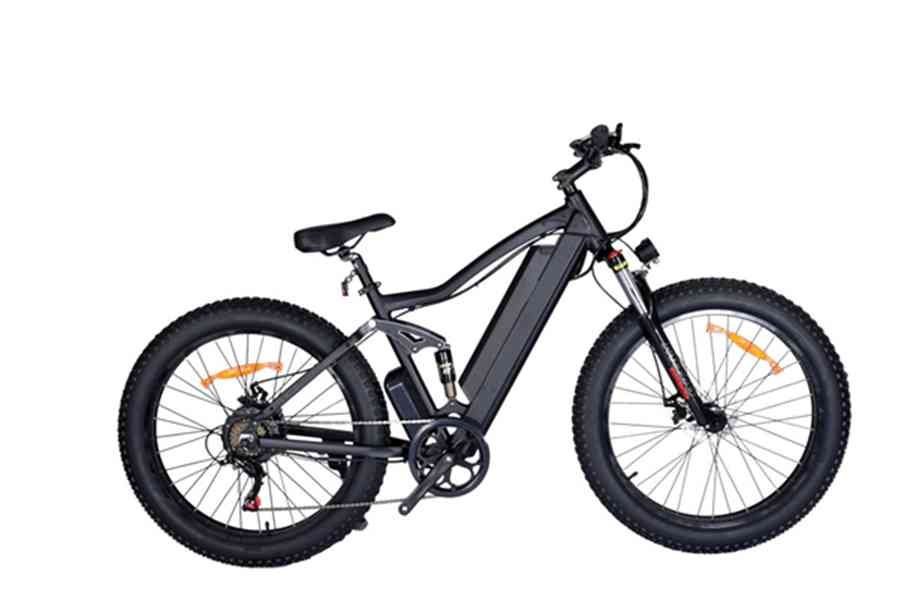
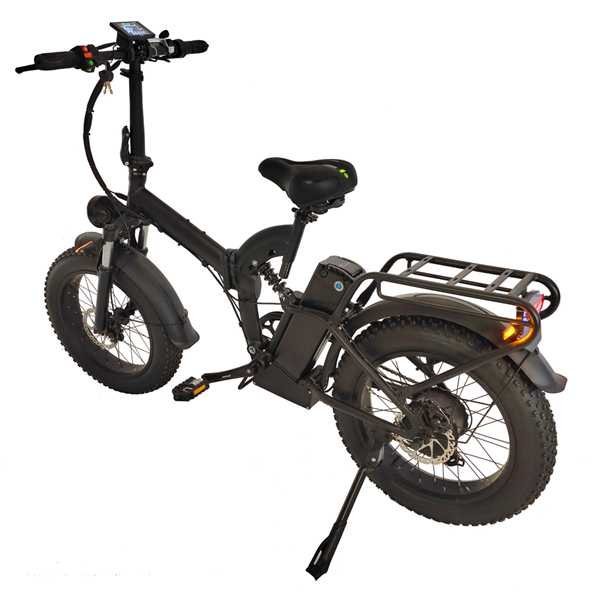
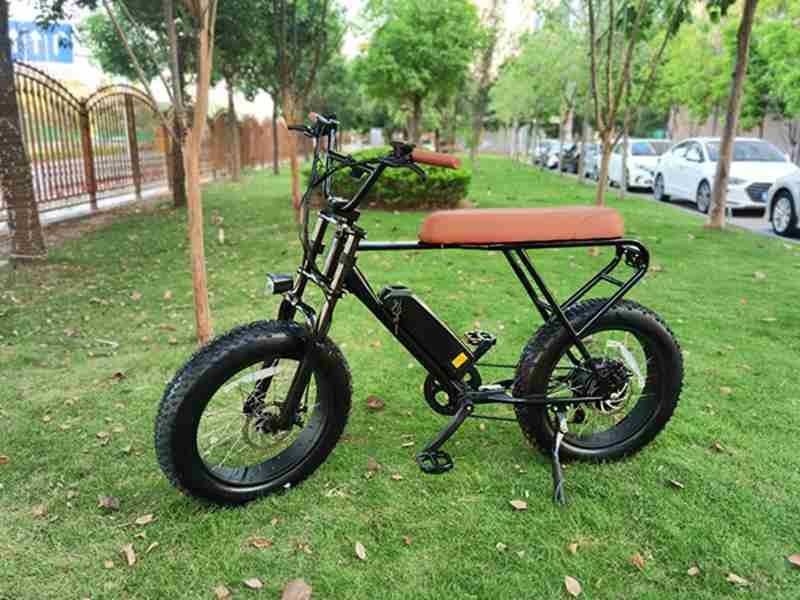
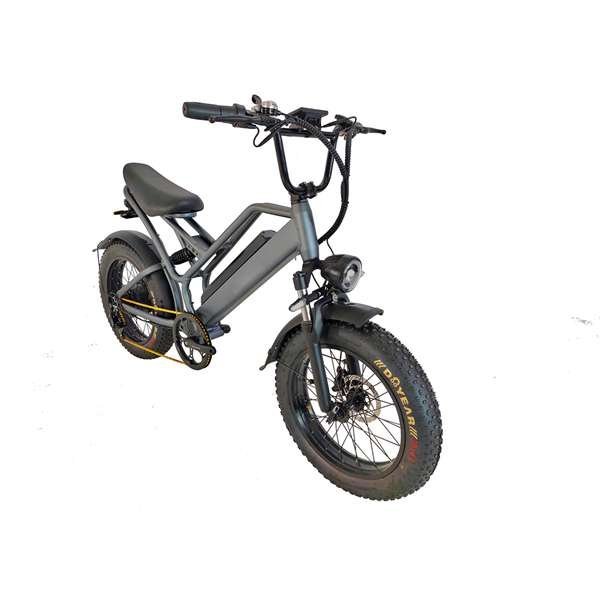
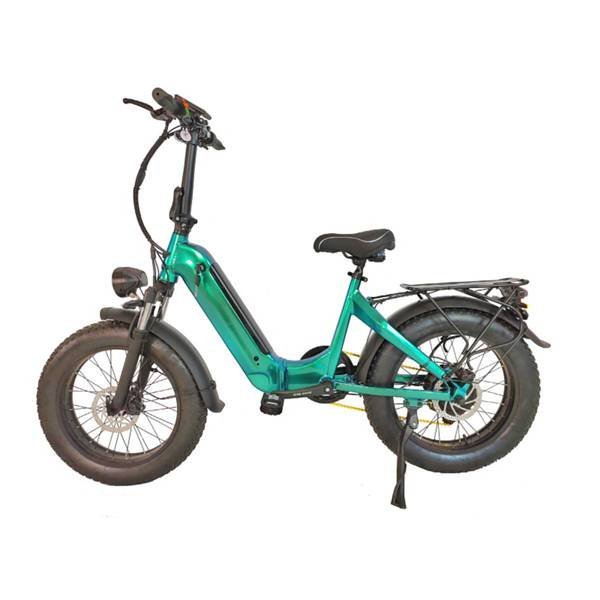
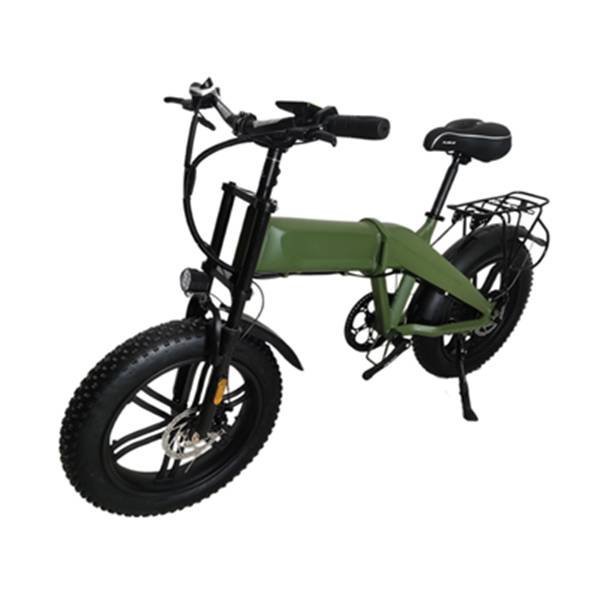
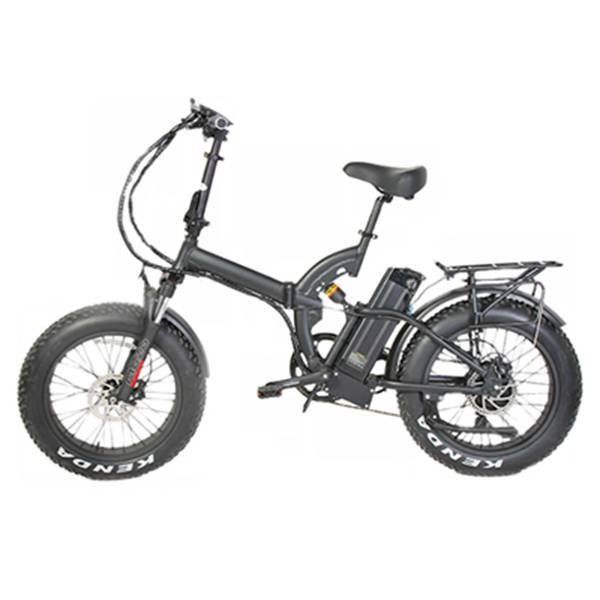
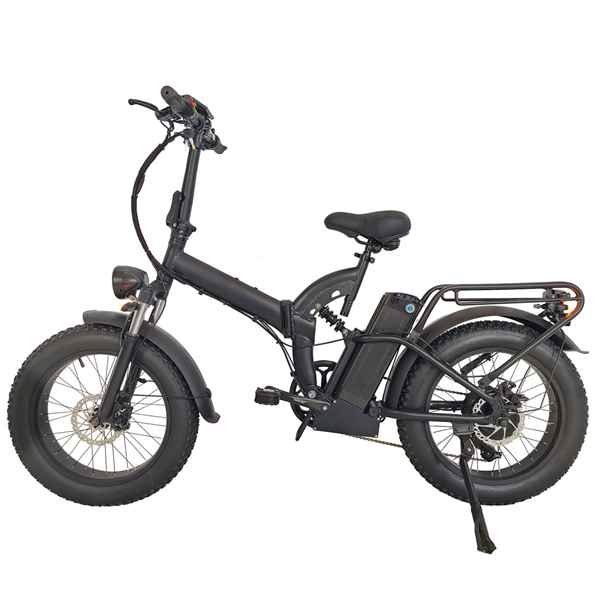
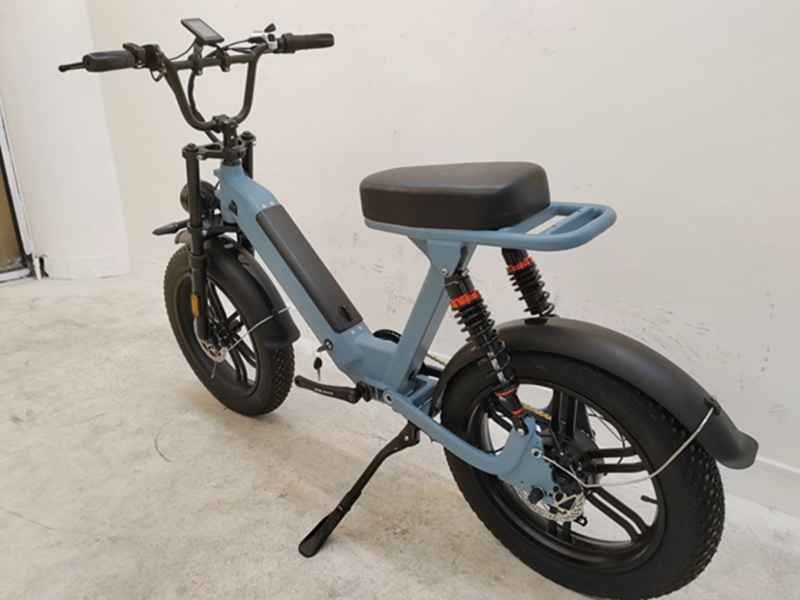
- 20-Inch Fat-Tire Models: Equipped with wide tires, these bikes offer excellent stability on various terrains such as sand, gravel, or snow.
- 26-Inch Snow Bikes: Specifically designed for snowy and icy conditions, providing traction and control.
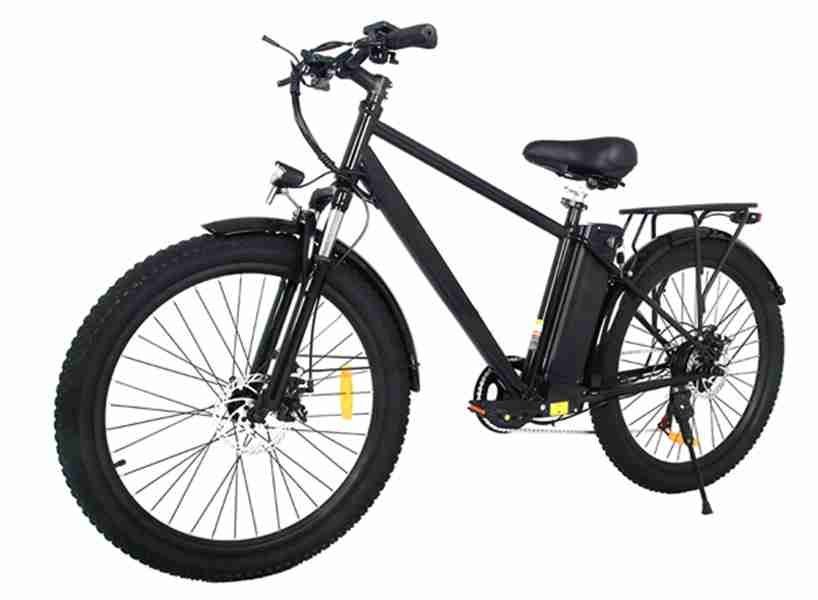
- 27-Inch City Models: Great for urban environments, with sleek designs and ergonomic features for comfortable rides.
- 29-Inch City Models: Built for riders seeking a more robust urban biking experience with larger tires for enhanced performance on longer routes.
Each of these models combines the convenience of bicycles with the power of electric vehicles, providing a seamless experience that allows users to switch between manual pedaling and electric assistance. The assembly steps for these models are generally consistent, with slight variations depending on specific features.
2. Preparing for Assembly
Before you begin assembling your LIIDEWA electric bike, make sure you have the following tools and components ready:
- A set of Allen keys (hex wrenches)
- A Phillips screwdriver
- A wrench or socket set (typically 10mm and 15mm)
- A tire pump
- All parts provided in the box, including the bike frame, wheels, pedals, seat, handlebars, battery, and any additional accessories such as lights or fenders.
Take a moment to review the user manual for your specific model, as it may contain additional instructions or helpful diagrams. Clear enough workspace so you can comfortably assemble your bike without losing any parts.
3. Step-by-Step Electric Bike Assembly
Step 1: Unboxing and Inspecting Parts
Carefully unbox your electric bike and lay out all the components. Verify that all parts are present and undamaged. This includes the frame, front and rear wheels, battery, pedals, seat, and handlebars. Ensure that all necessary nuts, bolts, and screws are included in the packaging.
Step 2: Installing the Front Wheel
Start by securing the bike frame in an upright position using a bike stand or having someone hold it steady. If your model comes with a front suspension fork, position it correctly and insert the axle through the front wheel hub. Align the wheel with the fork dropouts and tighten the axle nuts using your wrench. For models with disc brakes, ensure that the brake rotor aligns correctly within the brake caliper.
Step 3: Attaching the Handlebars
Place the handlebars onto the bike¡¯s stem, making sure they are centered and aligned. Depending on the model, you may need to use an Allen key to fasten the bolts securely. Adjust the handlebar position to your desired height and angle, ensuring they are comfortable to grip and operate the brake levers and throttle.
Step 4: Installing the Pedals
Identify the left and right pedals (they are usually marked “L” and “R”). The right pedal screws in clockwise, while the left pedal tightens counterclockwise. Use a wrench to securely fasten the pedals, ensuring they are tightly screwed in to avoid loosening while riding.
Step 5: Attaching the Seat
Slide the seat post into the seat tube and adjust it to your preferred height. Most LIIDEWA electric bikes come with a quick-release clamp, making it easy to raise or lower the seat without additional tools. Tighten the clamp securely once the seat is in place.
Step 6: Connecting the Battery
LIIDEWA electric bikes come with a detachable lithium-ion battery. Align the battery with the mount on the bike frame and slide it into place until you hear it click. Make sure the battery is locked in position and securely connected to the power system.
Step 7: Inflating the Tires
Using a tire pump, inflate the tires to the recommended pressure level indicated on the side of the tire. Proper tire inflation is crucial for a smooth and safe ride, improving both performance and durability.
Step 8: Testing and Adjustments
Before taking your bike out for its first ride, conduct a final inspection. Check the alignment of the wheels, ensure the brakes are working smoothly, and test the electric motor by engaging the throttle or pedal-assist mode. Make any necessary adjustments to the handlebar height, seat position, or brake tension to optimize comfort and safety.
4. Key Features of LIIDEWA Electric Bikes
LIIDEWA¡¯s electric bikes are not only versatile but also packed with cutting-edge technology. Some key features include:
- Powerful Motors: The bikes are equipped with high-torque motors that provide powerful assistance, making them suitable for climbing hills and covering long distances with ease.
- Long-Lasting Batteries: LIIDEWA electric bikes come with rechargeable lithium-ion batteries, offering a range of up to 60 miles on a single charge.
- Pedal Assist and Throttle Modes: Riders can switch between manual pedaling, pedal-assist, or full electric throttle modes, depending on their preferences and the terrain.
- Portable and Foldable Models: Certain models, like the 14-inch folding bikes, are lightweight and foldable, making them easy to carry and store when not in use.
5. Benefits of Choosing LIIDEWA Electric Bikes
- Sustainability: Electric bikes offer an eco-friendly alternative to cars, reducing carbon emissions and contributing to cleaner air.
- Cost-Effective: Compared to traditional cars or motorcycles, electric bikes are more affordable in terms of both purchase price and maintenance.
- Health Benefits: With the ability to switch between pedaling and electric power, LIIDEWA electric bikes allow riders to stay active while enjoying assisted support during tough rides.
Conclusion
Assembling a LIIDEWA electric bike is a straightforward process that can be completed with basic tools and minimal time. With a wide range of models designed for diverse needs, LIIDEWA provides a solution for every type of rider, from city commuters to adventure seekers. By following these assembly instructions, you can ensure your bike is set up correctly, allowing you to enjoy the unparalleled convenience and performance of your new electric bike.
You maybe Like:
- electric bike assemble
- folding-electric-bike
- electro mountain bike electric mountain bike
- electric bike with generator and food belectric bike
- ibike electric bike
- bicystar electric bike
- 48 volt battery charger electric bike
- electric bike speedometer
- Uncategorized
bycicle electric city bike liideway manufacturer
- Uncategorized
china electric bike 500w liideway manufacturer
- Uncategorized
electric bike 120km liideway manufacturer
- Uncategorized
electric bike assemble liideway manufacturer
- Uncategorized
suron electric bike 8000w liideway manufacturer
- Uncategorized
electric bike assemble liideway manufacturer
- Uncategorized
nicot electric dirt bike liideway manufacturer
- Uncategorized
city electric bike liideway manufacturer
- Uncategorized
retro fat tire electric bike liideway manufacturer
- Uncategorized
bike electric loading bike bicycle liideway manufacturer

LIIDEWAY most popular Electric scooter are linked below:
T1 Single Motor 10inch off road tire
T1Pro Double motor 48v 23AH battery
T14 Single Motor 12inch city road tire
T6(Double motor)
T7 Double motor 11inch off road tire
T8 Double motor 60v 20AH battery
T9(Double motor)
T10 Double motor 11inch off road tire
LW3-Wheel(3wheel)
T5 Double motor 72v 50AH battery
T4 Double motor 60v 20AH battery
T11 Double motor Acrylic LED board
T13 Electric Snow Scooter 1500w motor
Related Blogs:
- electric bike assemble liideway manufacturer
- electric bike assemble liideway manufacturer
- electric bike assemble liideway manufacturer
- electric bike assemble liideway manufacturer
- electric bike assemble liideway manufacturer
- electric bike assemble liideway manufacturer
- electric bike assemble liideway manufacturer
- electric bike assemble liideway manufacturer